
Here’s a fun little project!
I’ve had this light fixture sitting in the basement for at least a year. I liked its oversized scale and felt good about the quality (discontinued Restoration Hardware), but mannnnn was it disgusting. Dirty and dented, only to become more dirty and more dented sitting unprotected through renovations. I need you to trust me, because this picture doesn’t even do the grossness justice:
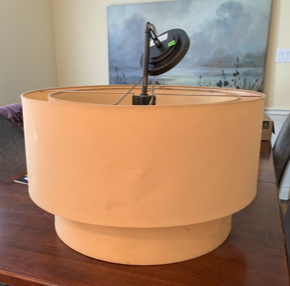
Fortunately, it was a quick fix. About a month ago, I stumbled upon a bolt of gorgeous designer fabric at a consignment store. While I have other plans for it, I decided to steal a smidge and fix this light up. If you can wrap a gift, you can literally do this project!
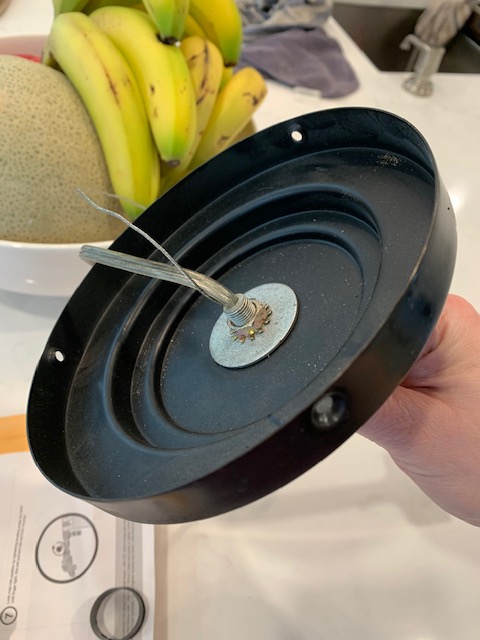
First things first: remove the shade (duh). After a good cleaning, we spray painted the fixture itself matte black to freshen it up. We were also missing the interior part of the canopy, which is needed to actually mount the light. However, they’re readily available at Home Depot, so it was no biggie. We replaced this piece and painted it to match:
Then I measured the diameter of the drums and cut myself two pieces of fabric (one for the inner drum and one for the outer), adding an extra inch or so on all sides to allow for overlap. Because my fabric is fairly thick, I also steamed out any wrinkles just to be sure they wouldn’t appear in the final shade.
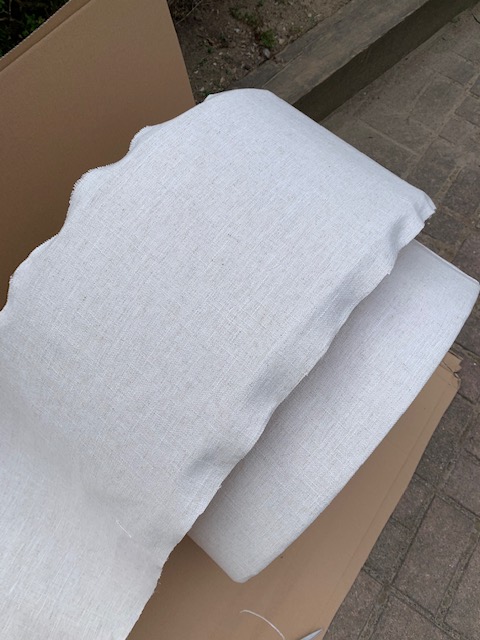
This is where you want to take things outside. I used this spray adhesive over cardboard to protect the surroundings from overspray, and it worked like a charm:
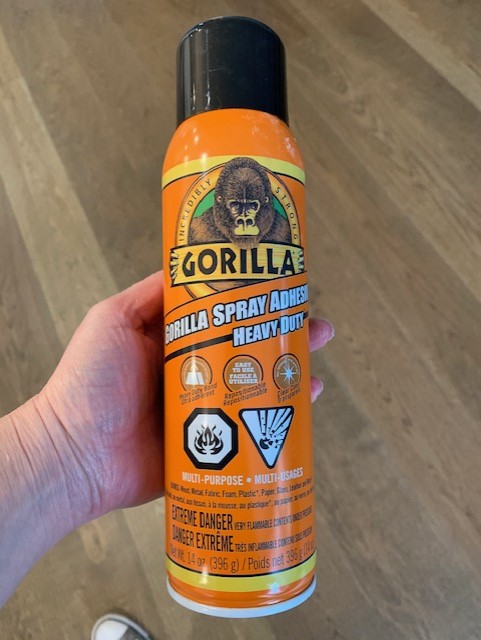
If you’re going to attempt this, make sure you pick an adhesive that is both permanent and repositionable. This spray gave me about 10 minutes of working time before it dried, which was plenty of time to move the fabric around until I was happy with the result. It also dried clear — no yellow residue here!
Unfortunately my shades don’t come apart, which meant a bit of finagling to get the fabric between the drums. I started with the inner one, both because I wasn’t sure what I was doing and I didn’t want to work around a finished exterior! It’s pretty straightforward — just stretch and press as you go. I left myself lots of extra fabric on the top and bottom and because I didn’t have to deal with a pattern, it really didn’t matter if the fabric was perfectly “straight.” I was also lucky that these shades are straight up and down, not tapered. There’s definitely more to consider if you’re contending with patterns or tapers, so you should probably find a more professional tutorial if you’re going that route! 😉

Because this light has a diffuser plate on the bottom, I knew the fabric folded inside the shade would be hidden so I didn’t worry about making it pretty. Howeverrrrrrrr … I later realized that when lit from the inside, you do see a shadow where the fabric ends (unevenly) inside the drum. So if you’re doing this, you may want to hold your shade over a lamp at this stage and confirm you’re happy — otherwise you’ll end up taking it back down to neatly trim the excess, which is what I’ll have to do one of these days.
One thing I did right, however, was focus on nice clean edges around the perimeter of the drum. I think this is key to achieving a professional look:
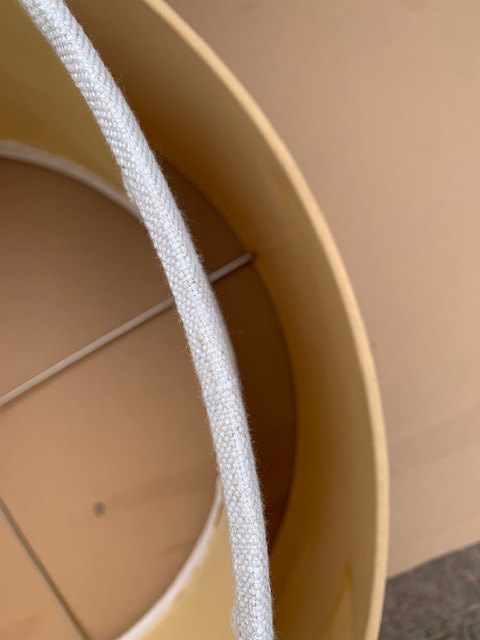
When I got to the end of my fabric, I simply folded a straight line and glued the fold shut before adhering the whole end in place. You could go the extra mile and iron your seam against a ruler, but I didn’t bother and found it wasn’t necessary to achieve a clean finish.

If I do this again, I’ll be more careful about aligning the new seam with the existing shade’s seam. I didn’t think it would matter, but even with my heavy fabric you can see the old seam underneath if you know what to look for. Not the end of the world, but now I know!
Then it was onto the outside drum. The process was the same, but I forgot there’s no diffuser on this drum so when you’re underneath the light, you can see the inside of the outer shade. I guess in hindsight, I should have been more careful about my seams overall … it’s not hard to do, so do it right. Right?!?!
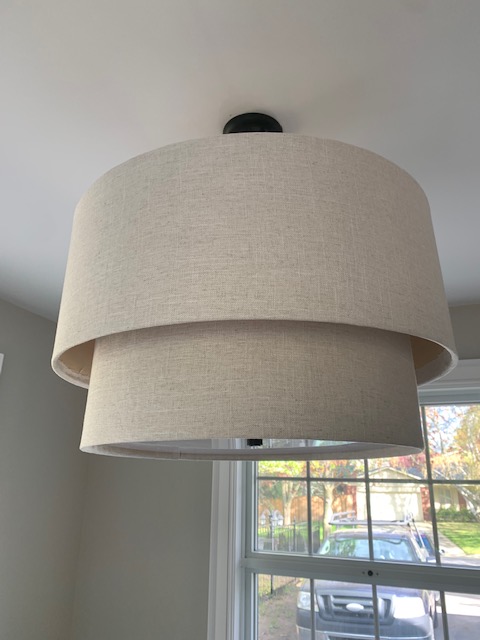
Stretch, spray, roll, smooth, repeat … and she was done!


Before and after:

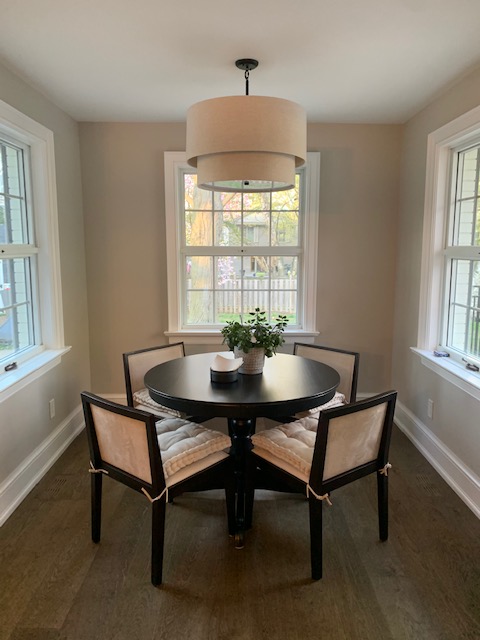
Here she is installed over our breakfast table. We still need window coverings, art, etc. in this area, but it’s coming along!
Tell me — have you tackled a light fixture refresh before? Any tips and tricks? Spill!
xx Laura
